
A Simple Workflow for Lightroom on your iPad

Simple, right?

Plug ‘n Work
With Lightroom Mobile, my new iPad Pro is now the front end of my digital photography workflow, particularly when I’m not in the studio. And with Lightroom Classic, I can keep my established desktop editing and asset management just the same as it always was.
Here’s how I use it.
Camera to iPad

Plug and Edit
When I’m out in the field - or on the sports field - I connect my digital camera directly to Lightroom on my iPad Pro using the USB-C adaptor. This is much more convenient than taking my MacBook Pro along because my iPad is half the weight, has more than double the battery life, and is connected to the internet. So I can make preliminary edits and selections anywhere - if necessary, while sitting on a bleacher and holding the iPad in one hand. And because my iPad is connected to the internet, I can do immediate posts to Twitter or Facebook during sporting events.
Tip: If shooting sports, better to shoot in JPEG because of their smaller file size. You’ll be able to transfer the files to your iPad much faster. But good to know that I can also transfer my RAW files directly from Camera to iPad.
iPad to Desktop, via the Cloud

Start here, finish there
While I’m doing quick edits and social posts from my iPad, Lightroom sends the originals onward to Lightroom Classic on my desktop computer, via Adobe Cloud. It does all this in the background. When I get back home, the next time I open Lightroom Classic the pictures will all be there, with all the edits I made on my iPad. And the originals will automatically be downloaded to and saved on my desktop’s storage volumes - same as always.
Store and Backup Originals

Safe and sound
My originals are stored on my laptop’s hard drive by default. To avoid bloating the hard drive, I regularly move those photos to my external raid drive. Raid drives provide much faster read/write speeds than a single drive can. I use Raid 5 because that provides an extra layer of safety against lost data: if one of the drives suddenly takes a nose dive, I don’t lose any data.
I move the photos from my computer onto the Raid drive from within Lightroom by simply dragging the file folders from one volume to the next (*see note below). I then back up the raid drive to a single, portable 10 TB drive once a month. The portable drive resides in a separate location apart from my home, so that if my house were to catch fire or get bombed, I would still have my backups.
*My cousin George, who used to work over at Lightroom, explains that it is safer to move your files using Finder, not Lightroom - because Lightroom can sometimes have errors during the ‘move’ process. If instead you move files from one Volume to another using Apple’s Finder, it actually copies those rather than moves them. After copying the files, you can then do a checksum using an app like ChronoSync to compare and make sure nothing got lost in translation. After checking, change the name of the original folder - or drop it in your trash. Then from within Lightroom Classic, open the ‘old’ folder. LrC will tell you that the folder no longer exists, and will prompt you to find that folder. Point to the new location and voila. All the pictures show up again. Safe and sound.
Cleaning Up The Cloud

Smart Previews
Now that I have all my originals managed by my Desktop computer back at home, let’s get them cleared out of the Cloud. Here’s what happens. When LR iPad sends my camera’s photos to the Cloud, Lightroom usually keeps those as Smart Previews on my iPad, in order to save space. That’s great. But even though the originals have been transferred over to my Mac at home, those same originals are also stored in the Cloud. That’s ok but it’s amazing how quickly those originals can take up space. If you’re ok with that, fine. I have nearly 10TB of photos so storing those in the Cloud is an expensive option. Plus, I just feel kind of unsafe having all my pictures in someone else’s cloud. Kind of like tightrope walking without a net, only I don’t get paid for that.
Solution? It’s easy to remove those originals from the Cloud. In Lightroom Classic, just go to Calendar > All Synced Photographs and delete them. You can do this daily, weekly, or just when your Cloud account starts to get full. Then, put Smart Previews back in the cloud by syncing selected Collections.
Simple Settings
To make all this work, here’s all you need to do:
Automatically Download Photos to your Mac/PC
On Lightroom Classic
In Lightroom Classic (LrC) on your Mac or PC, go to Preferences > Lightroom Sync > Location and select both “Specify location for Lightroom’s Synced images” and, if you are using this for your manual imports, “Use subfolders formatted by capture date”. If you have been using LrC for years like me, this is the default for importing photos into Lightroom. It ensures that any new photos that you add on Lightroom on any of your mobile devices will also appear in those same subfolders on your Mac or PC. This is brilliant because you can use LR on multiple devices yet still have all of your photos stored in the same place.
Automatically Add Photos
On your iPhone or iPad
To automatically add any photos to Lightroom that are taken on your device cameras (iPhone, iPad, Android tablet or phone), in Lightroom Mobile go to Settings > Import > Auto Add From Camera Roll and select what you want to add: Photos, Screenshots, Videos, or all. In this way, a photo that you take on your iPhone will automatically appear in Lightroom on all of your devices. Sweet.
Save Space
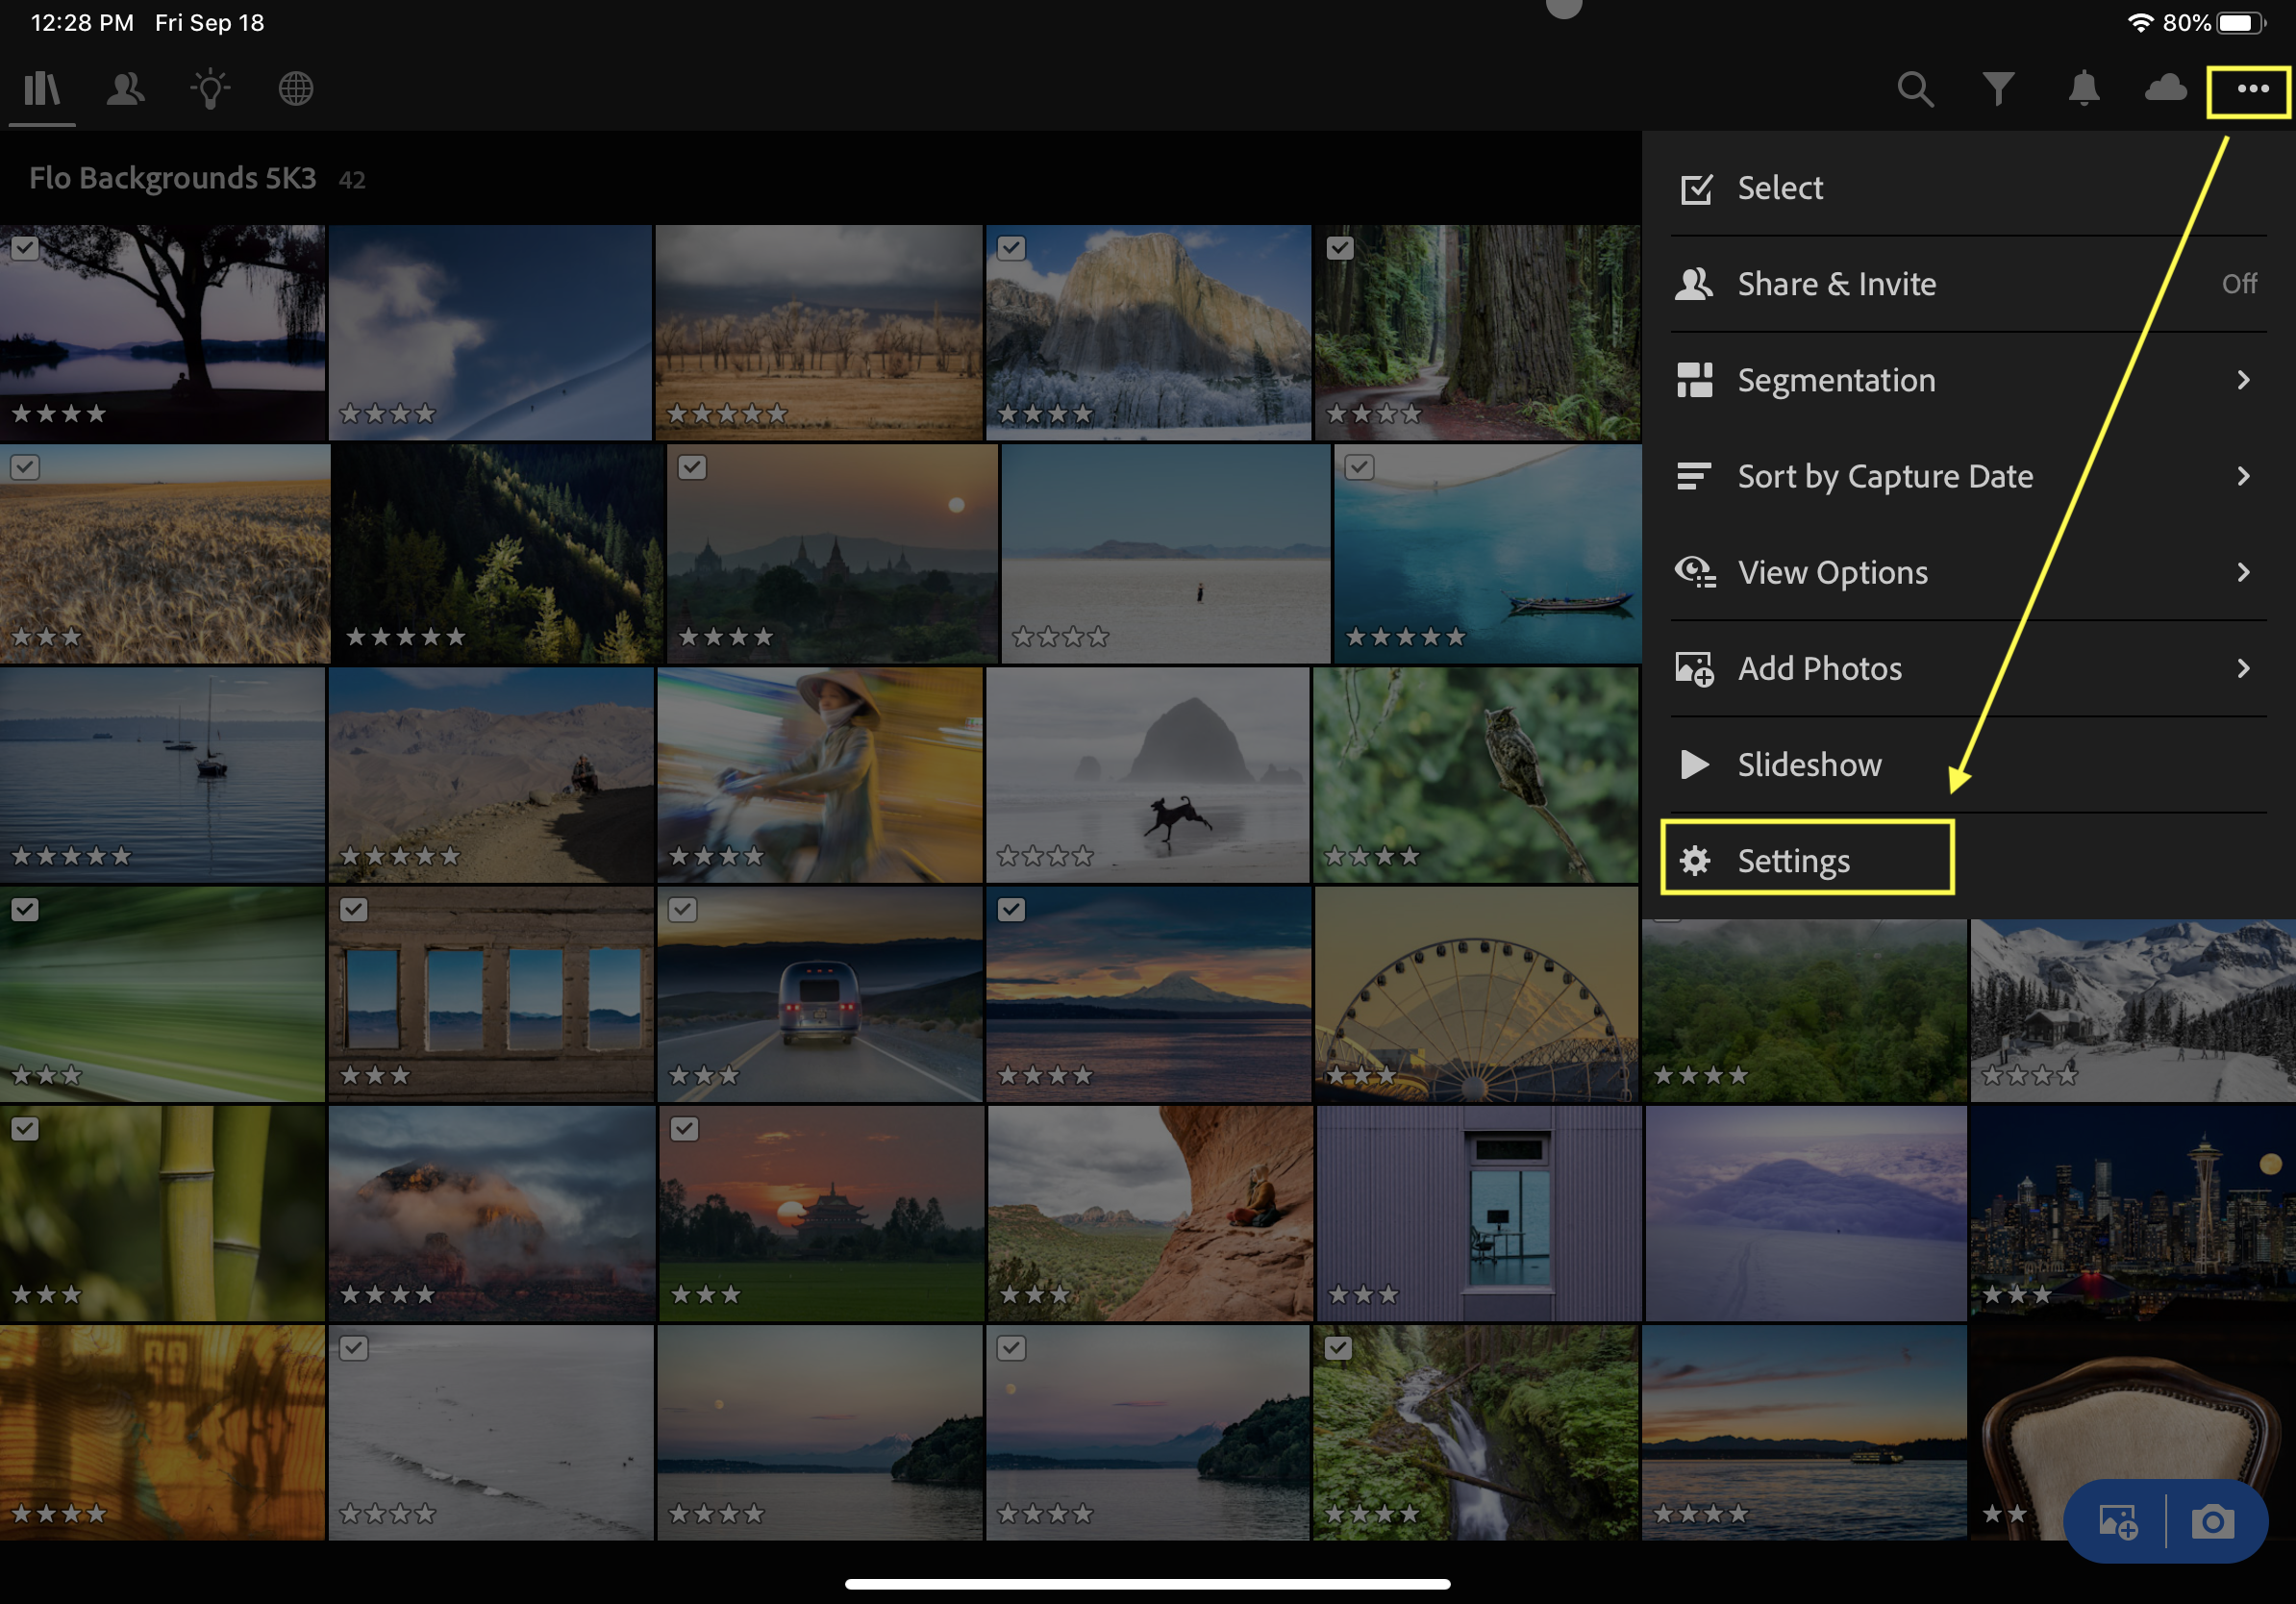
SmartPreviews only, please
In Lightroom on each of your mobile devices, go to Settings > Cloud Storage and choose “Only Download Smart Previews.” This ensures that you will have lightweight but fully editable versions of photos stored locally on your mobile device, saving precious space. The originals are kept either in the Cloud, or optionally on the local hard drive of your computer.
With these three settings, I have all I need to take photos with my digital cameras and my mobile devices, do quick edits, labeling and prioritizing directly on Lightroom on my iPad, share them immediately with other people and on social media, and continue to edit them on my 5K monitor when I get back to my desktop.
That’s A Wrap
Now that I can connect my digital cameras directly to my iPad, my workflow is more flexible, especially when I’m traveling or in the field. Everything is just a lot easier because unlike my laptop, my iPad is connected to the internet. More and more often, I’m leaving my laptop at home - and not missing it.

By the way, the Magic Keyboard is great for quick edits on Lightroom iPad.